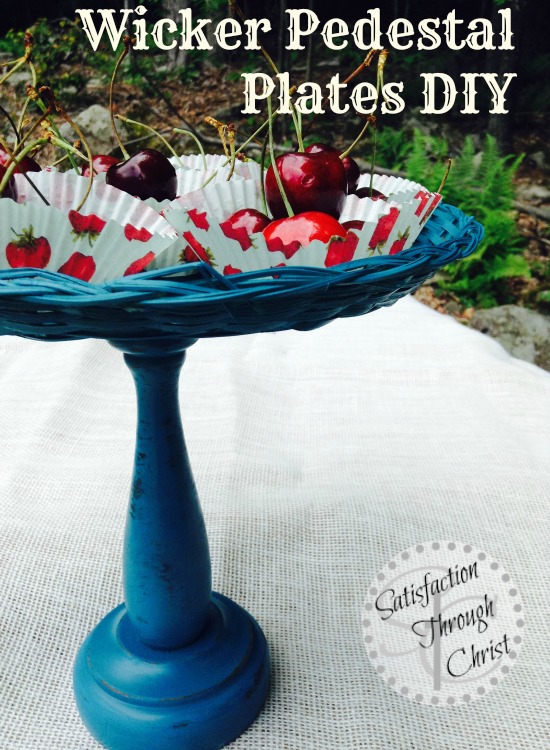
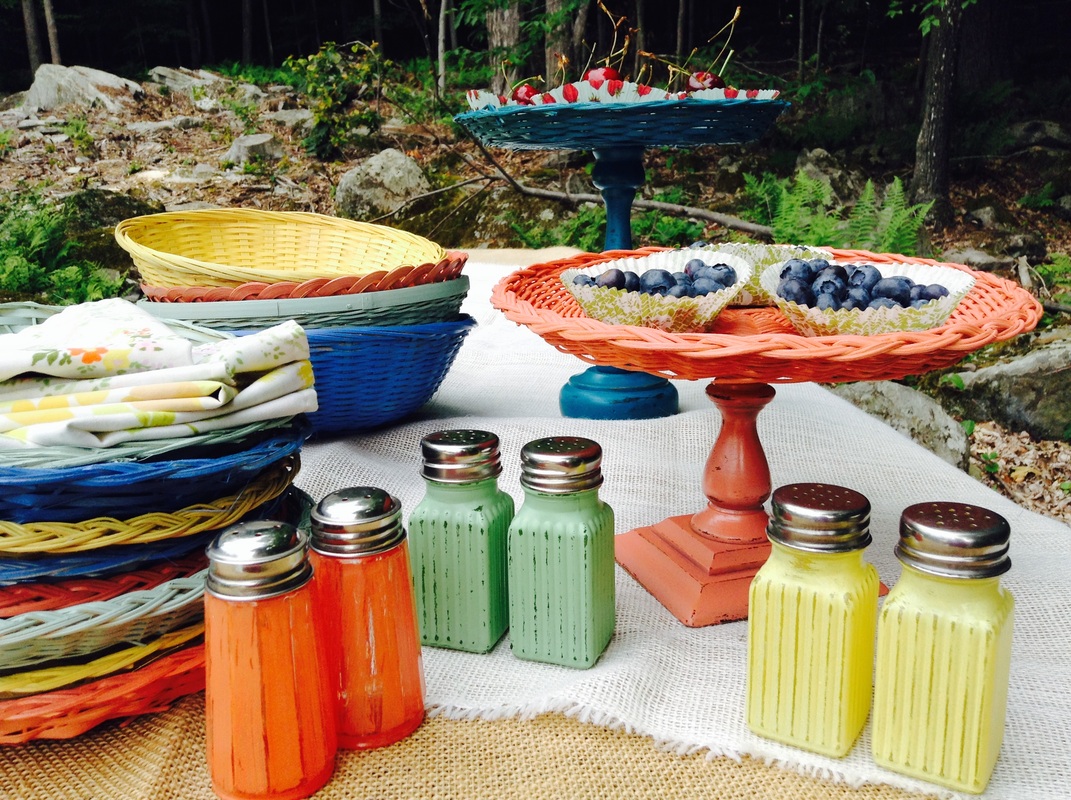
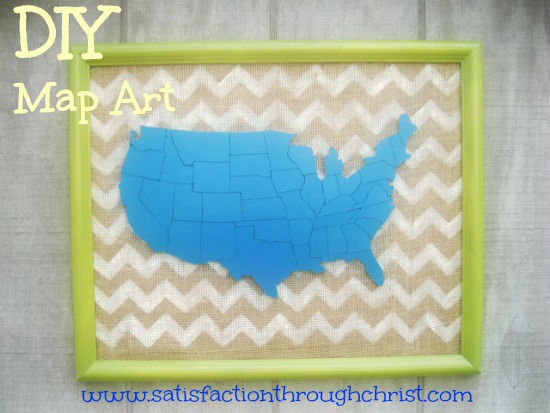
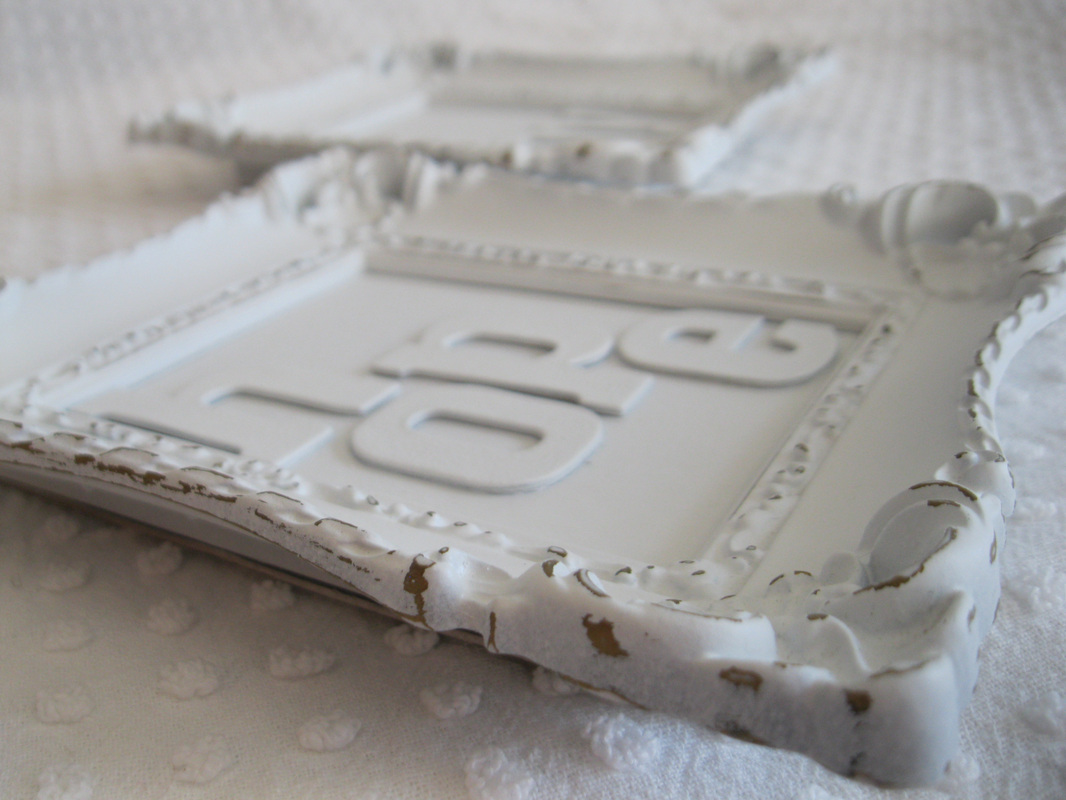
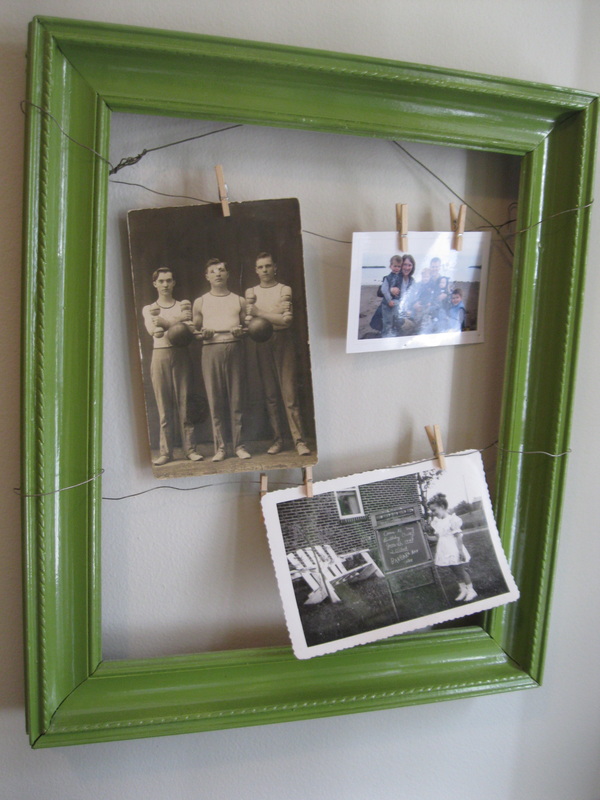
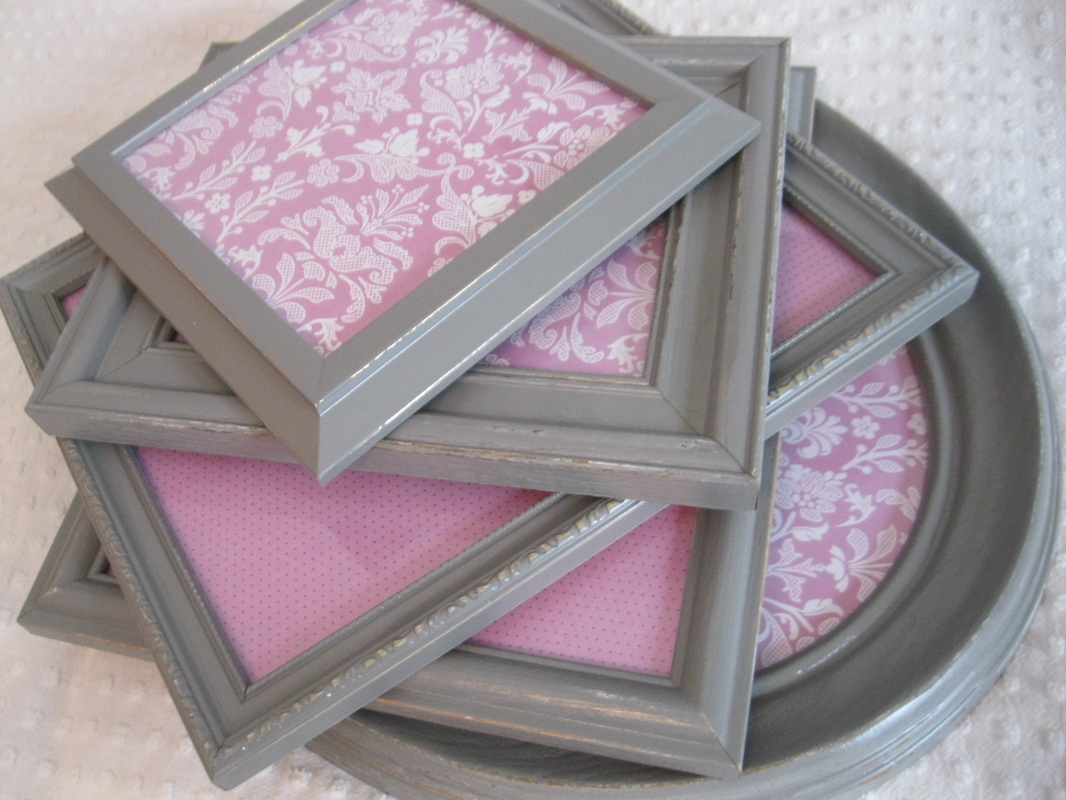
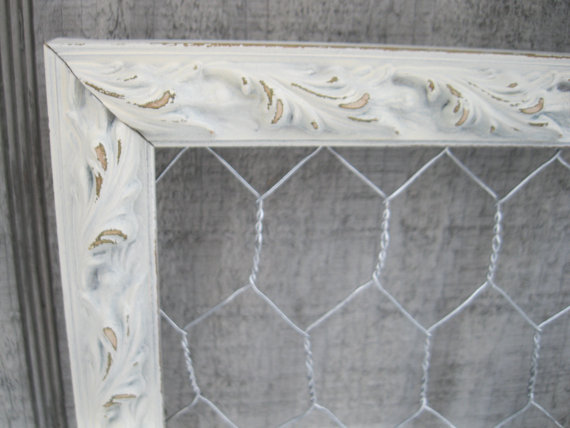
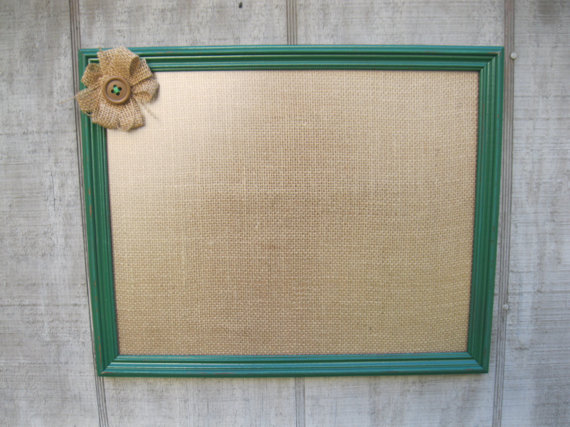
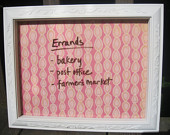
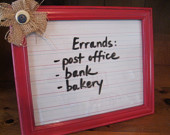
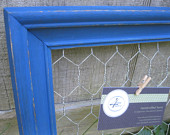
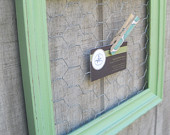
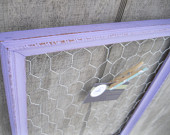
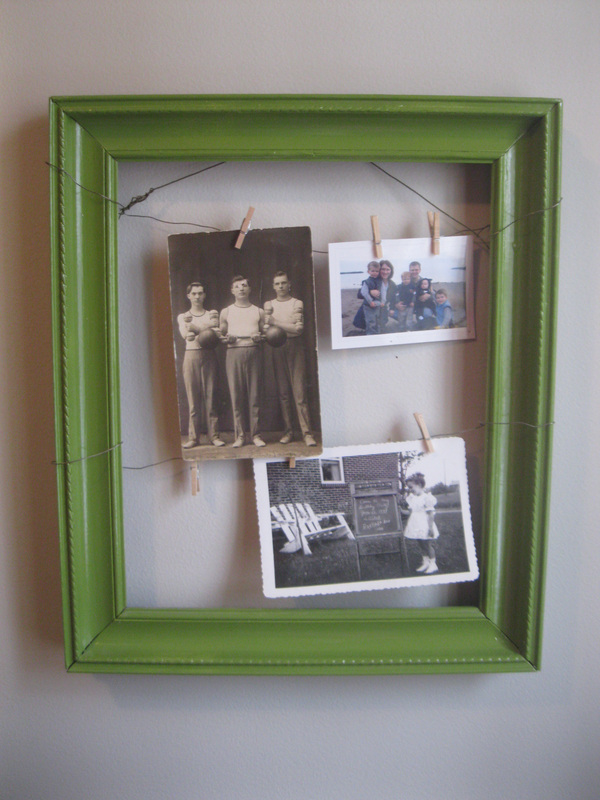
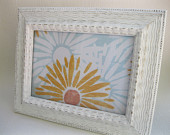
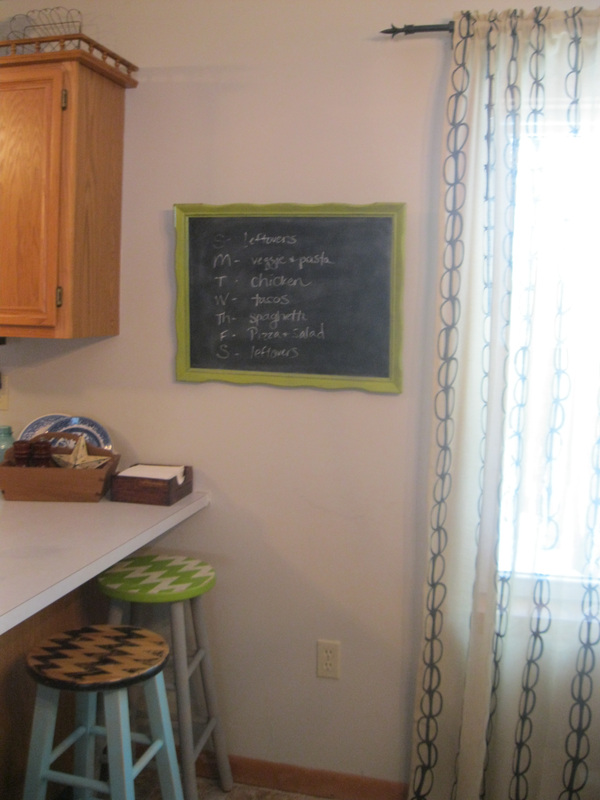
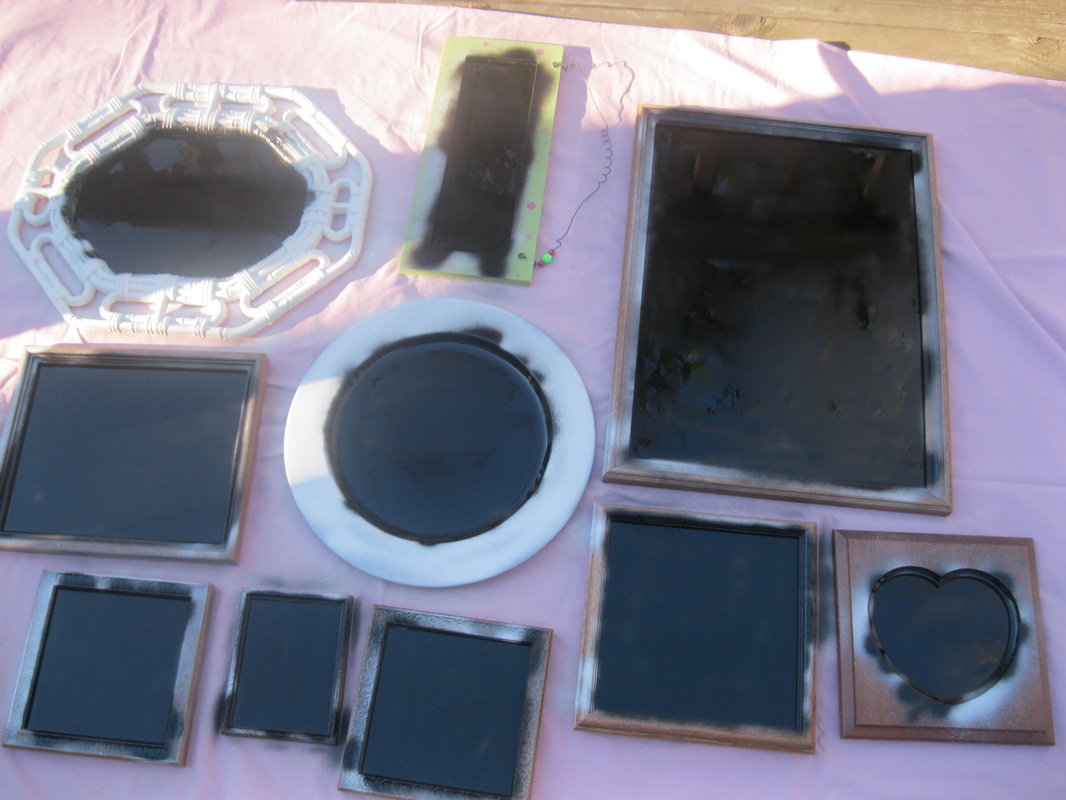
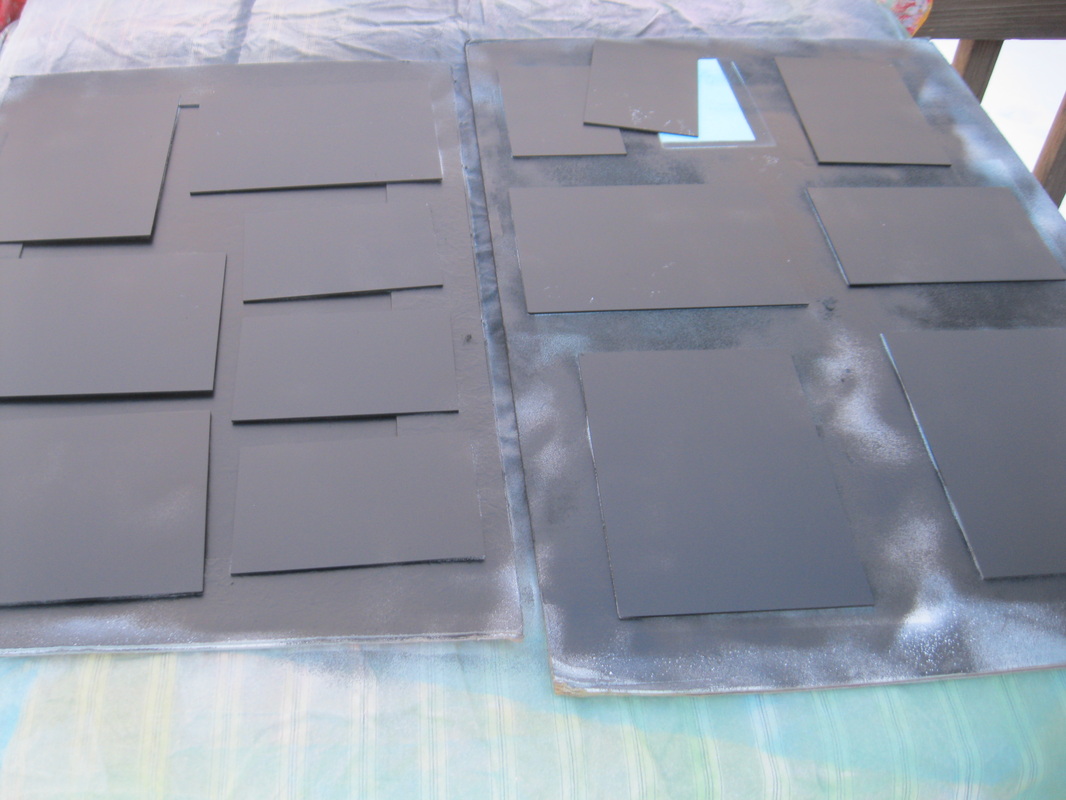
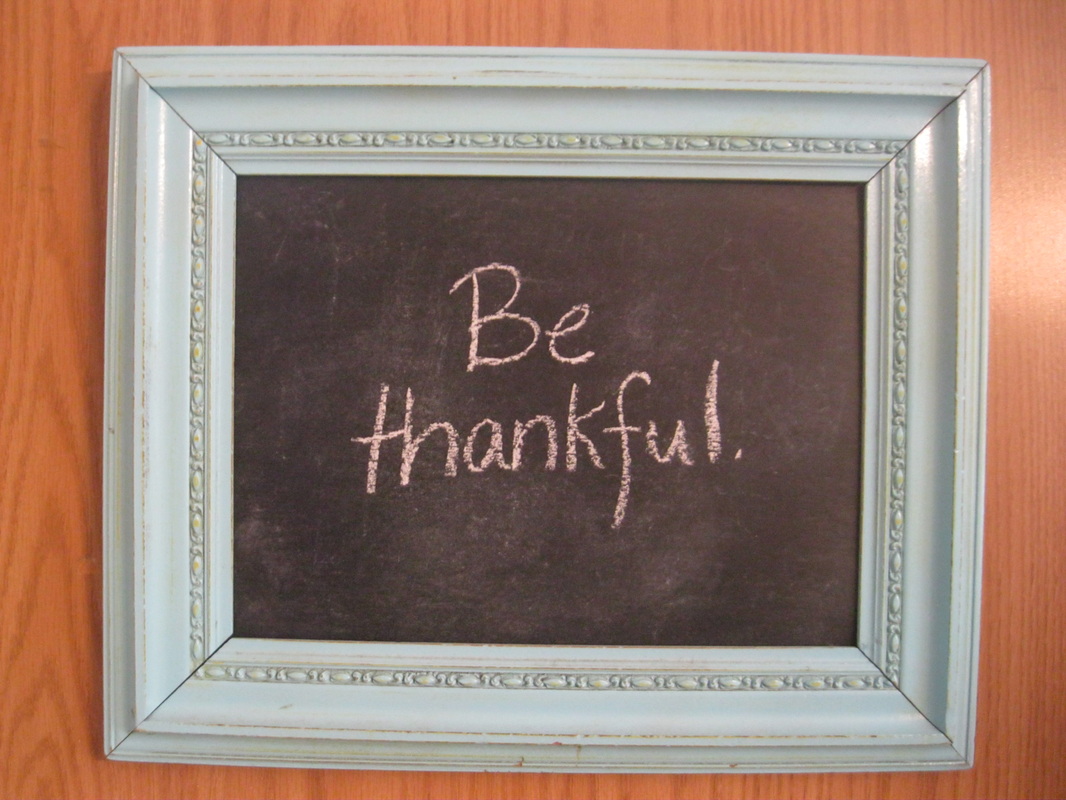
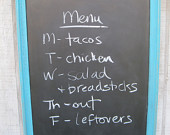
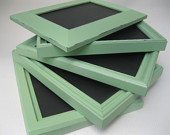
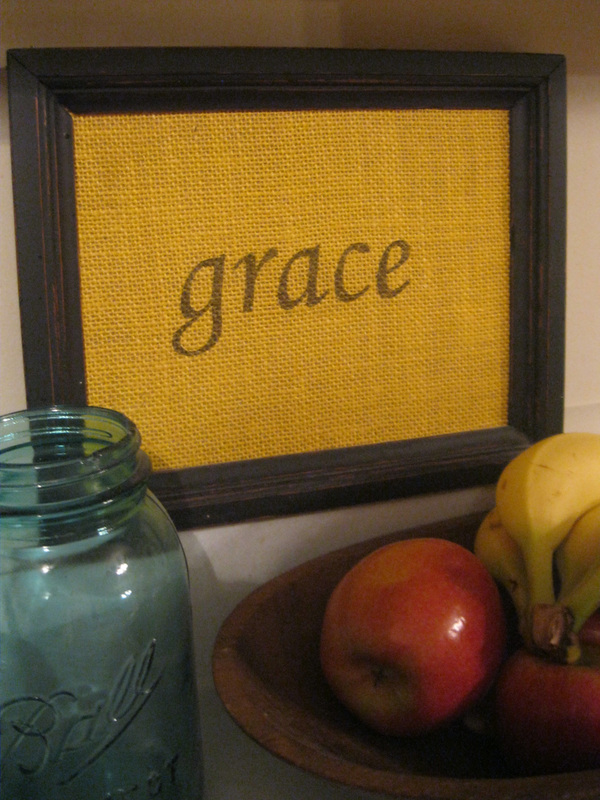
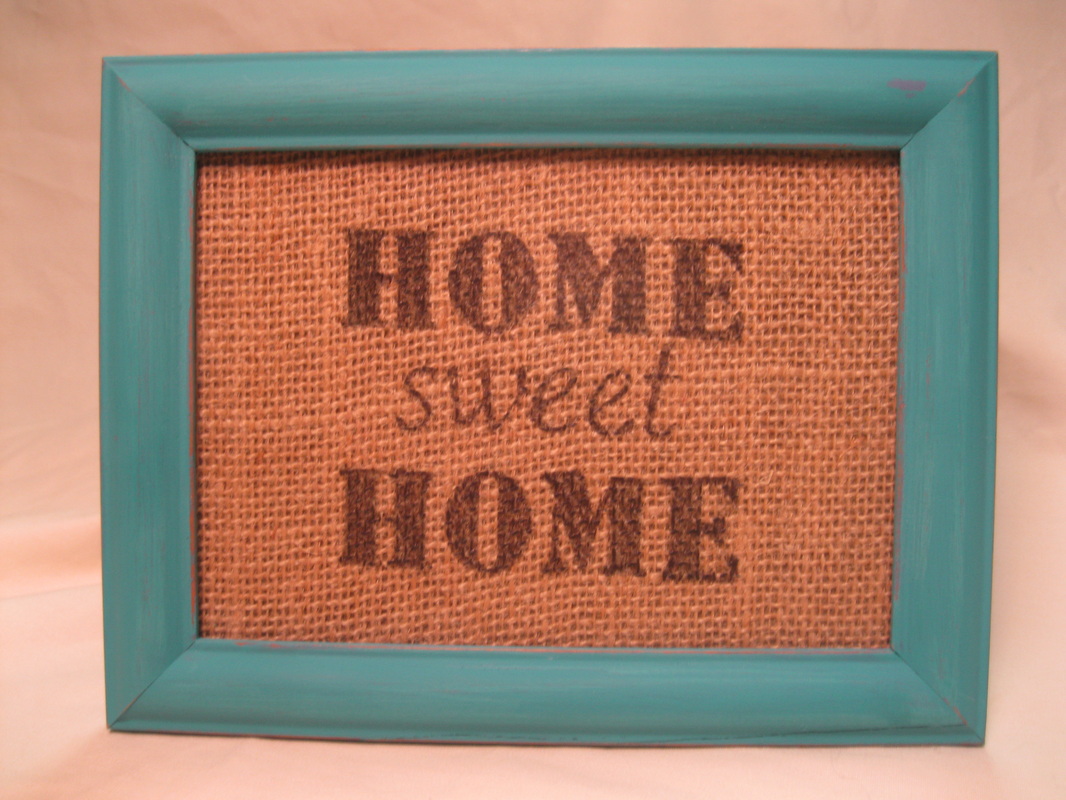
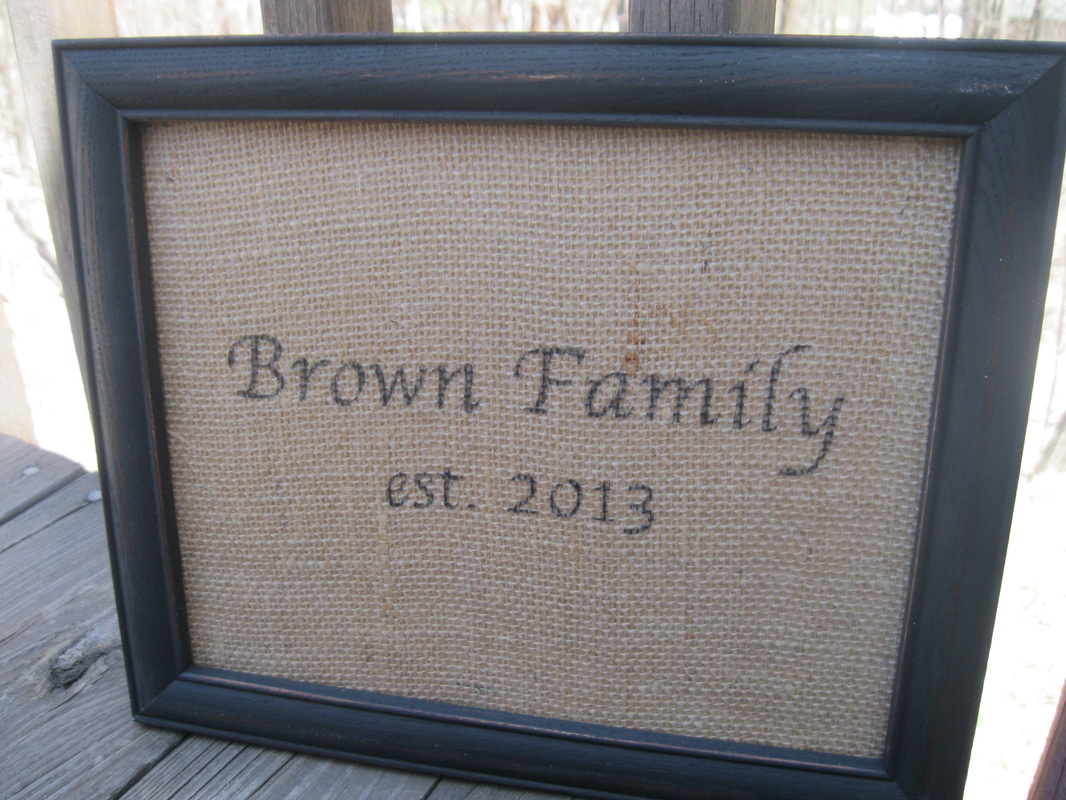
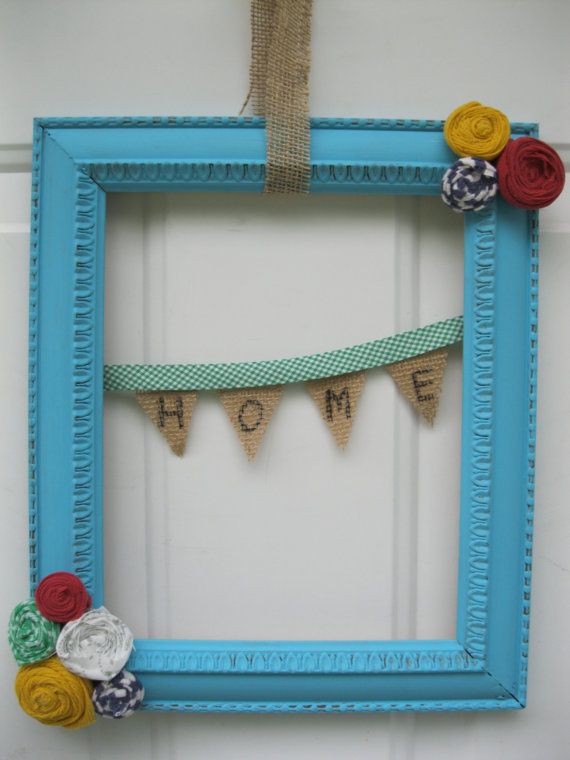
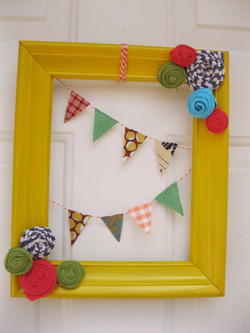
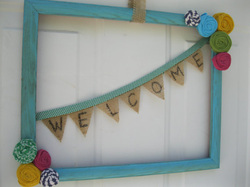
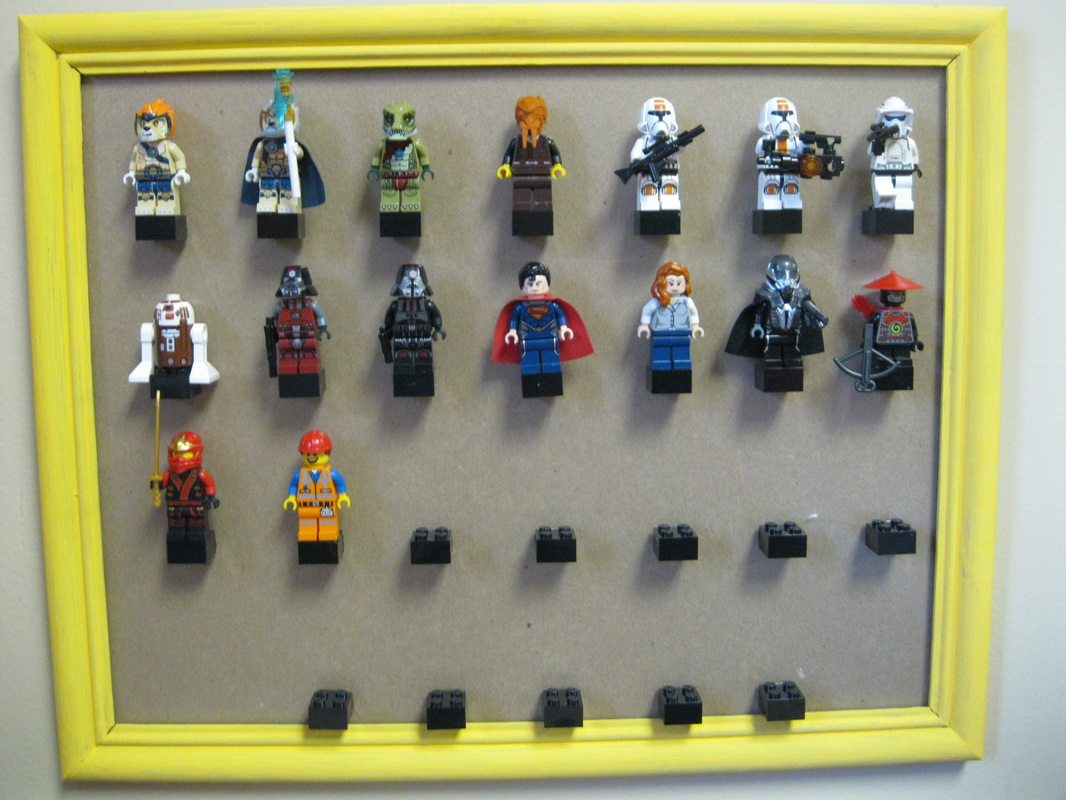
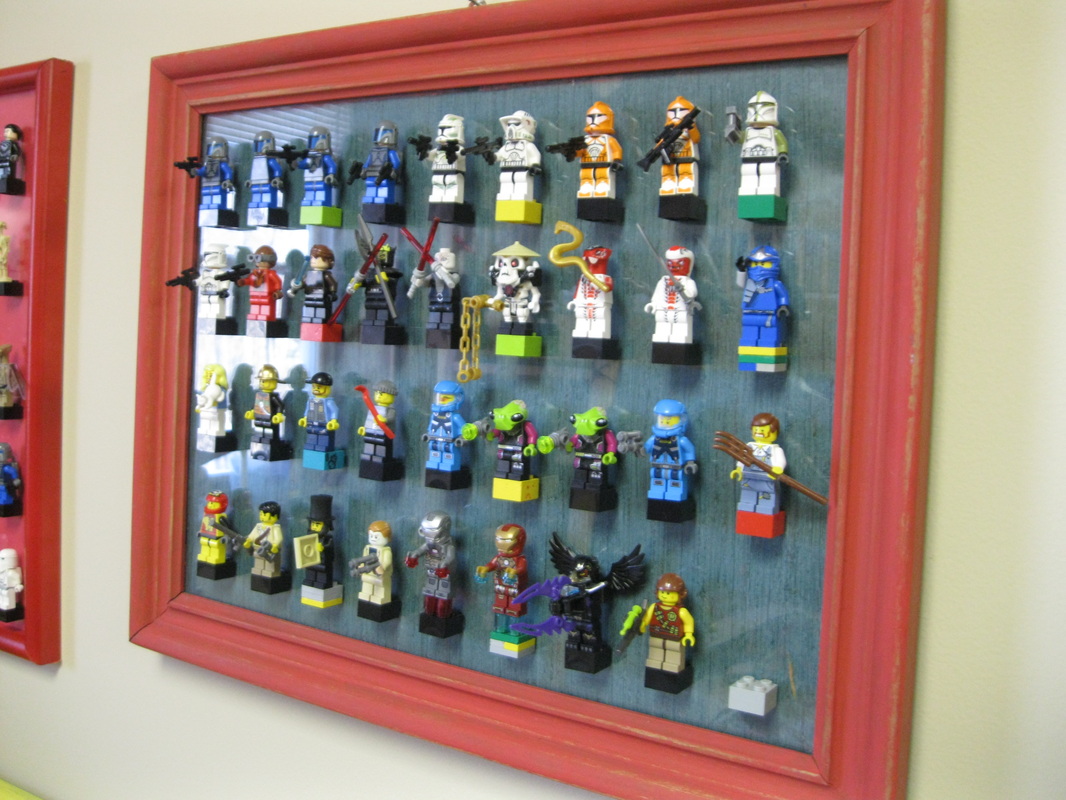
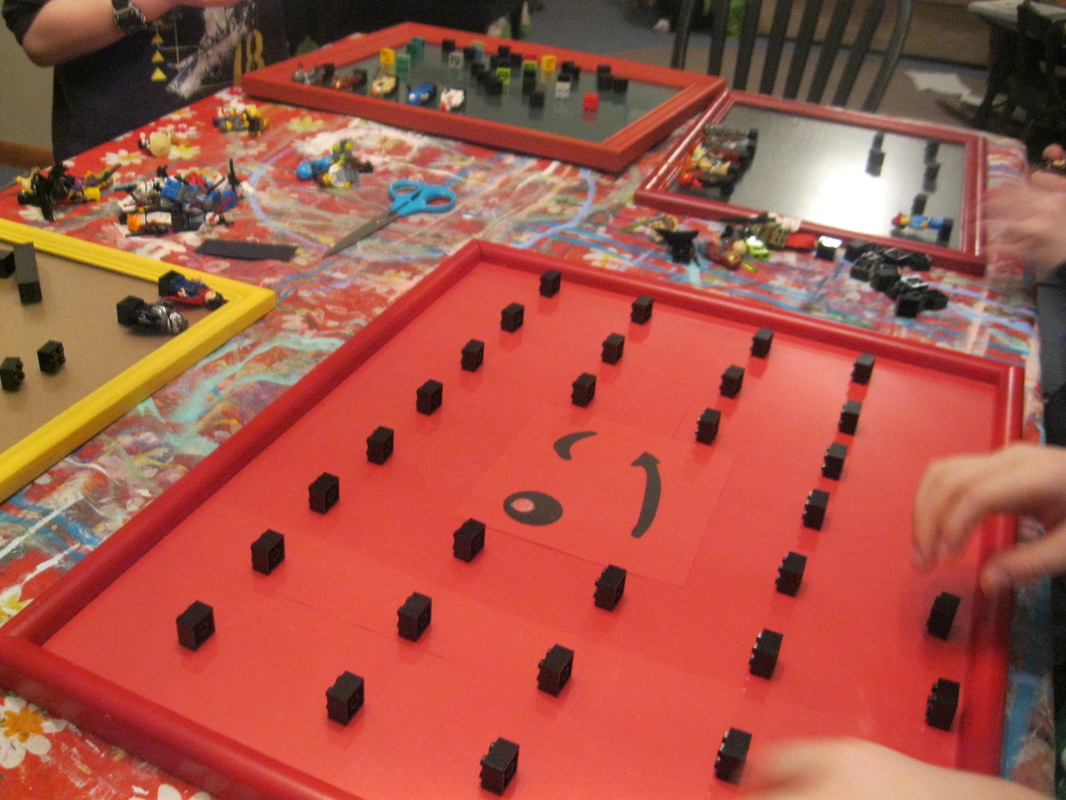
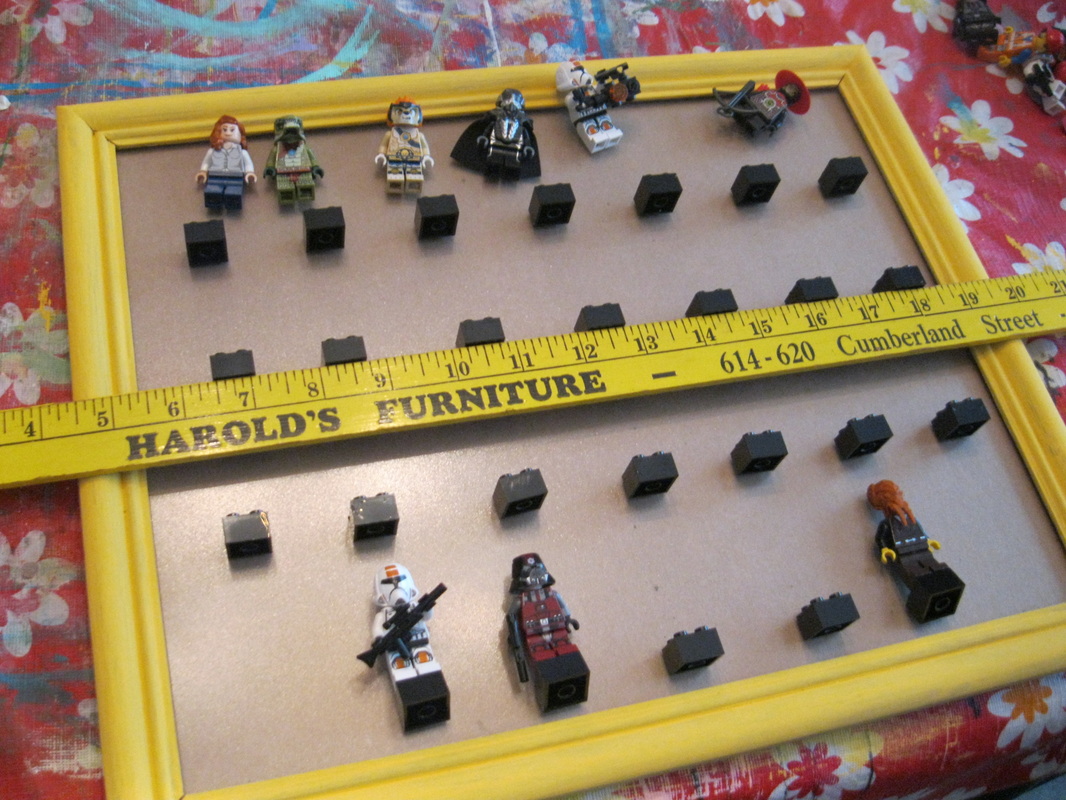
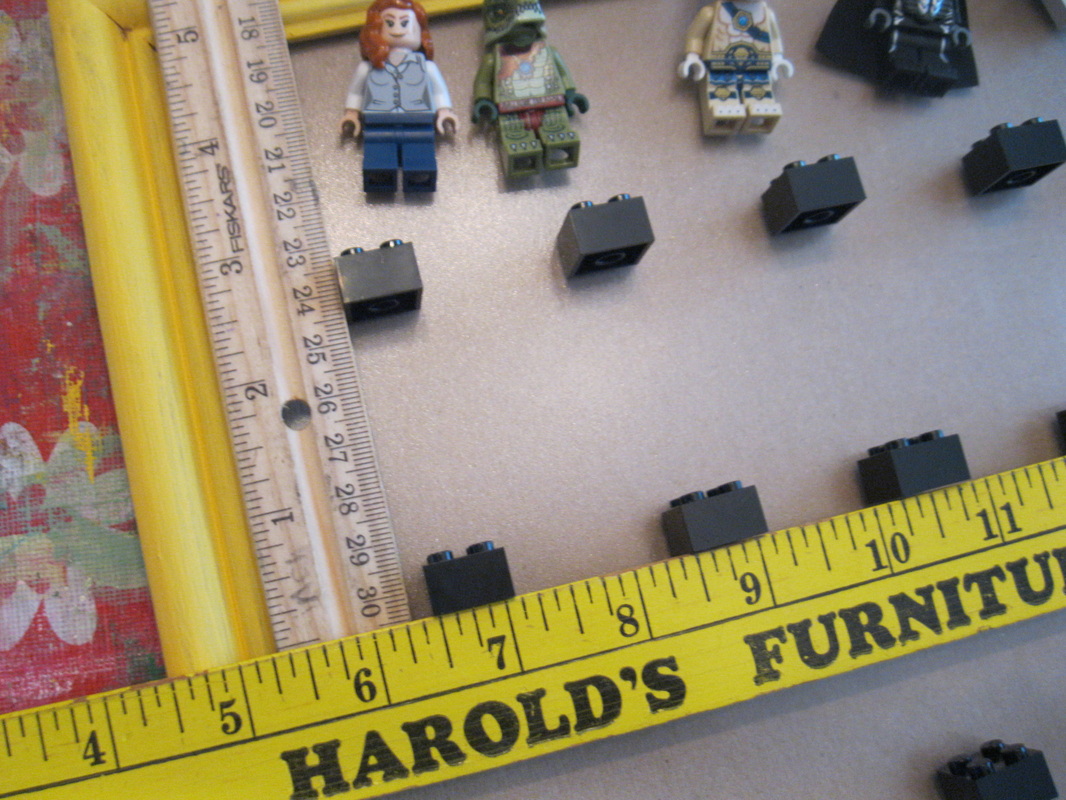
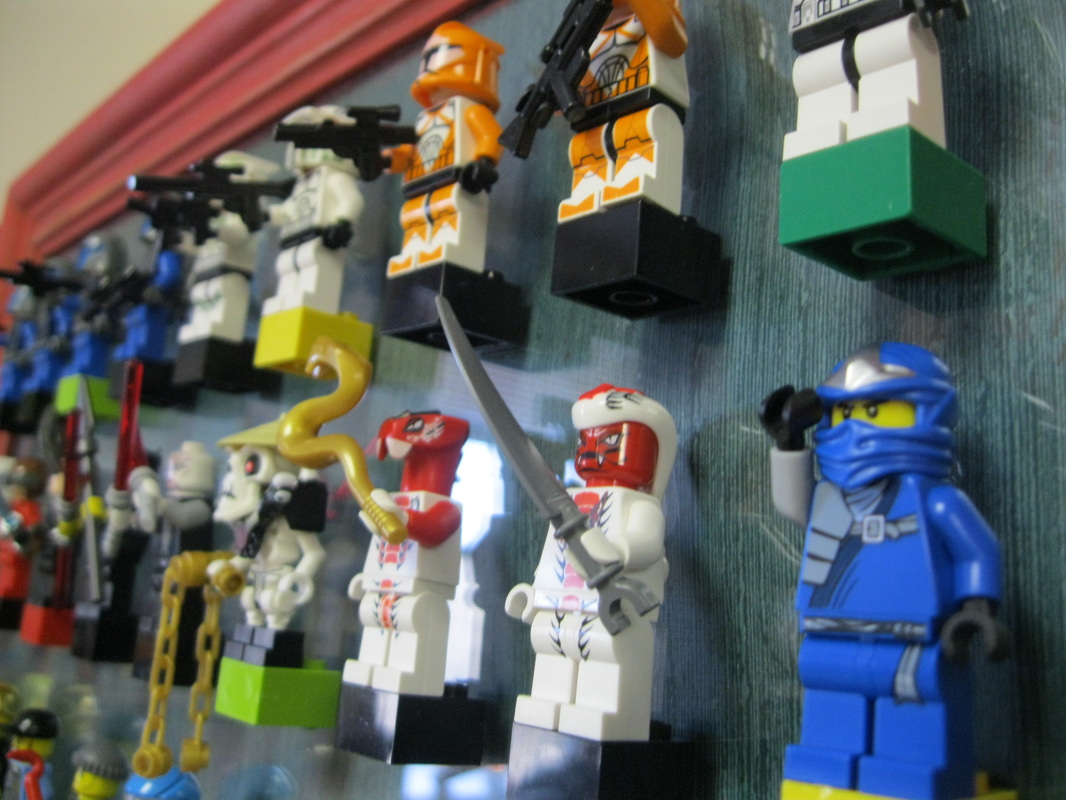
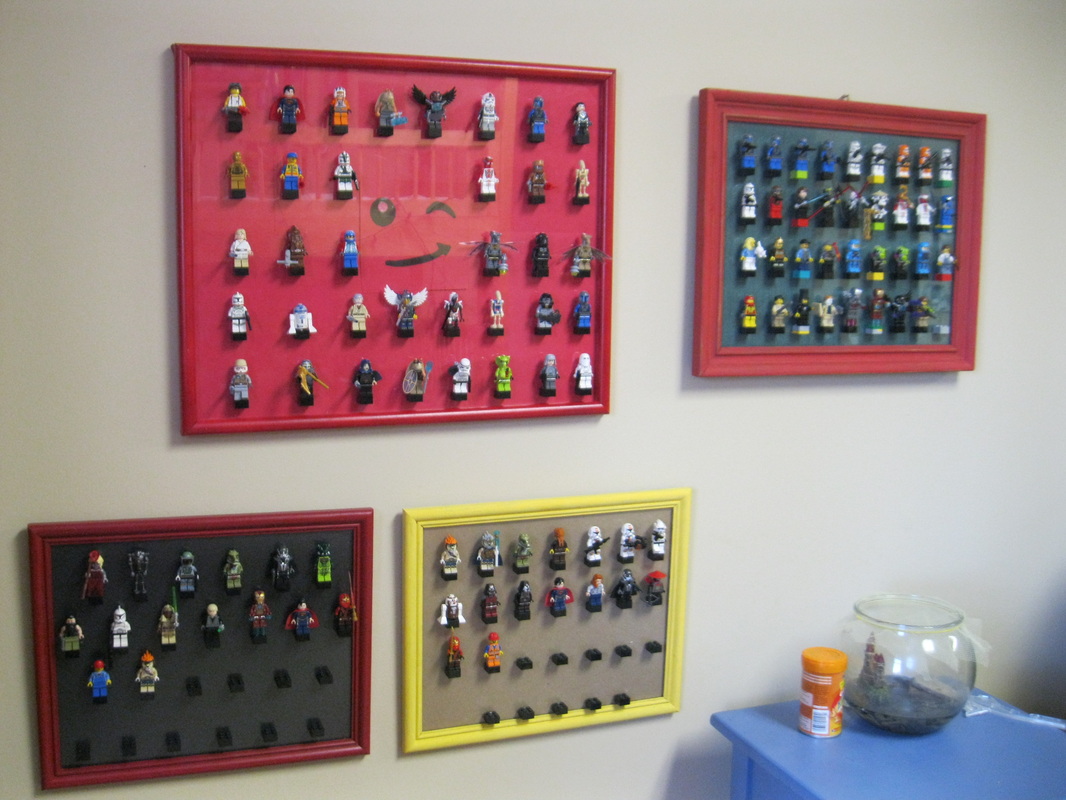
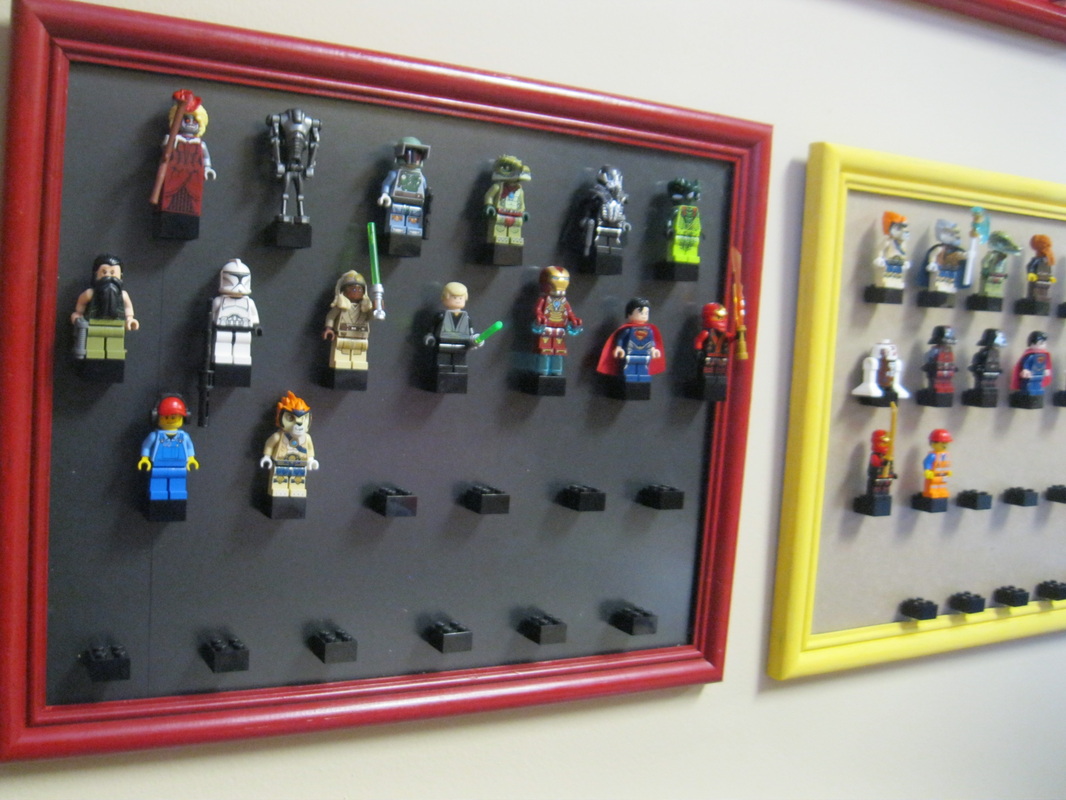
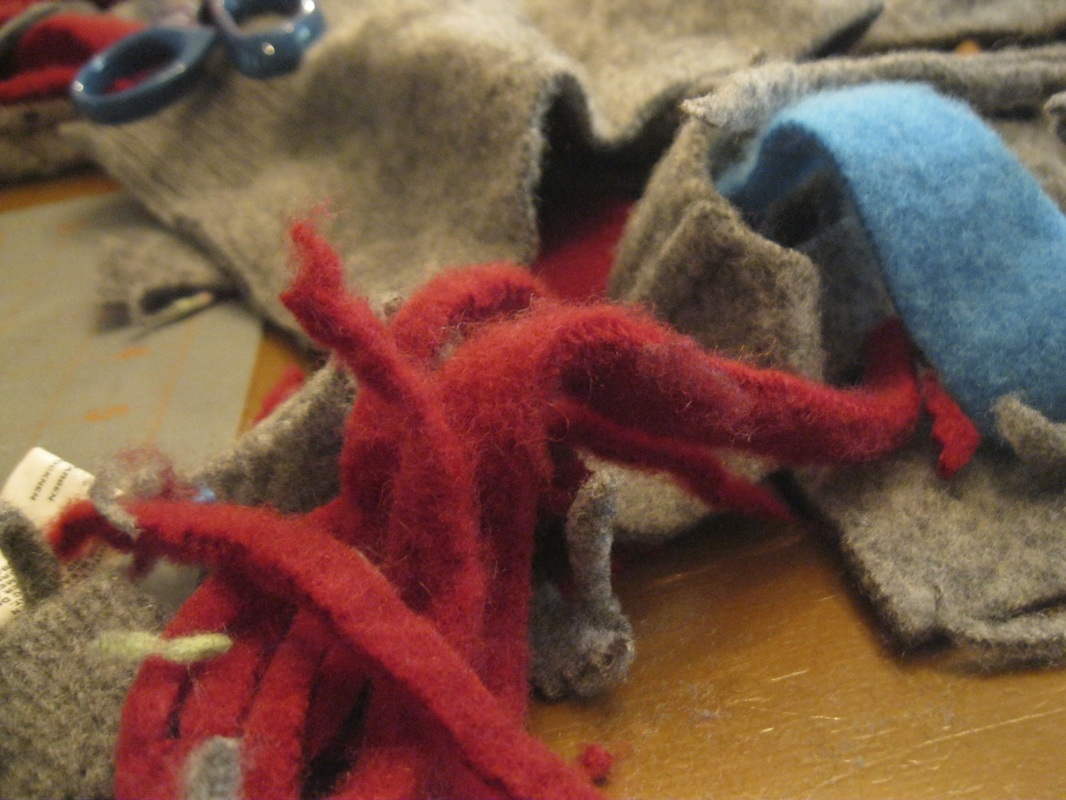
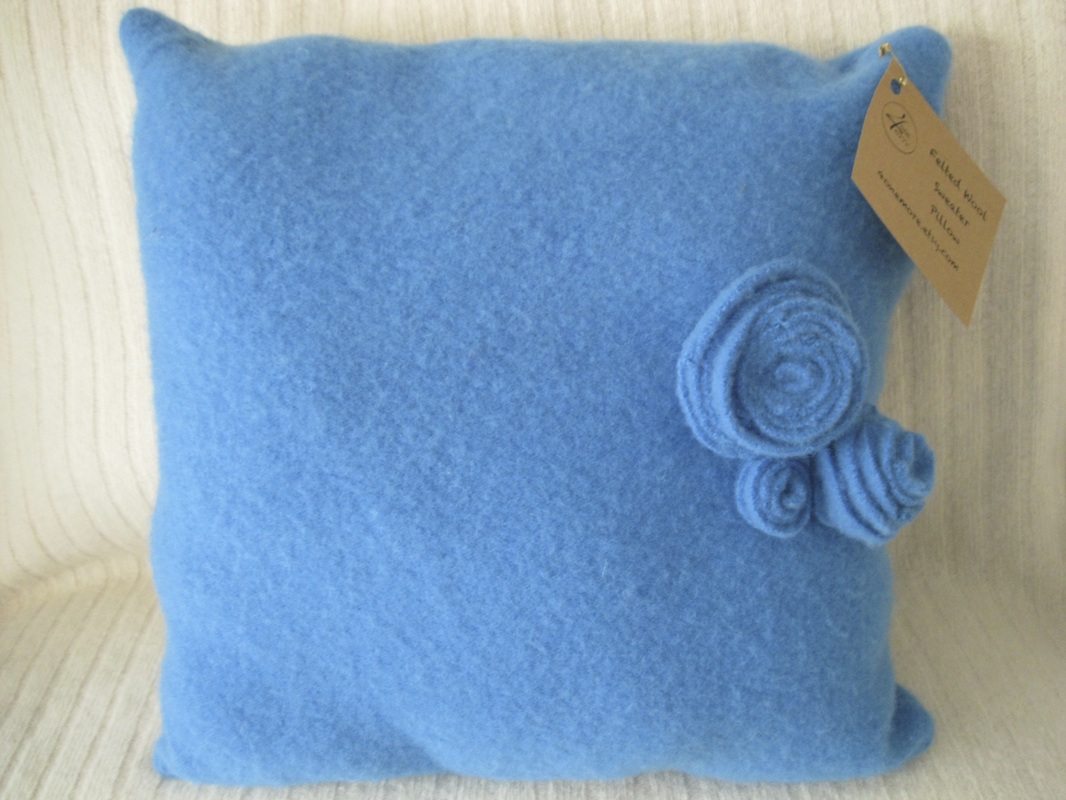
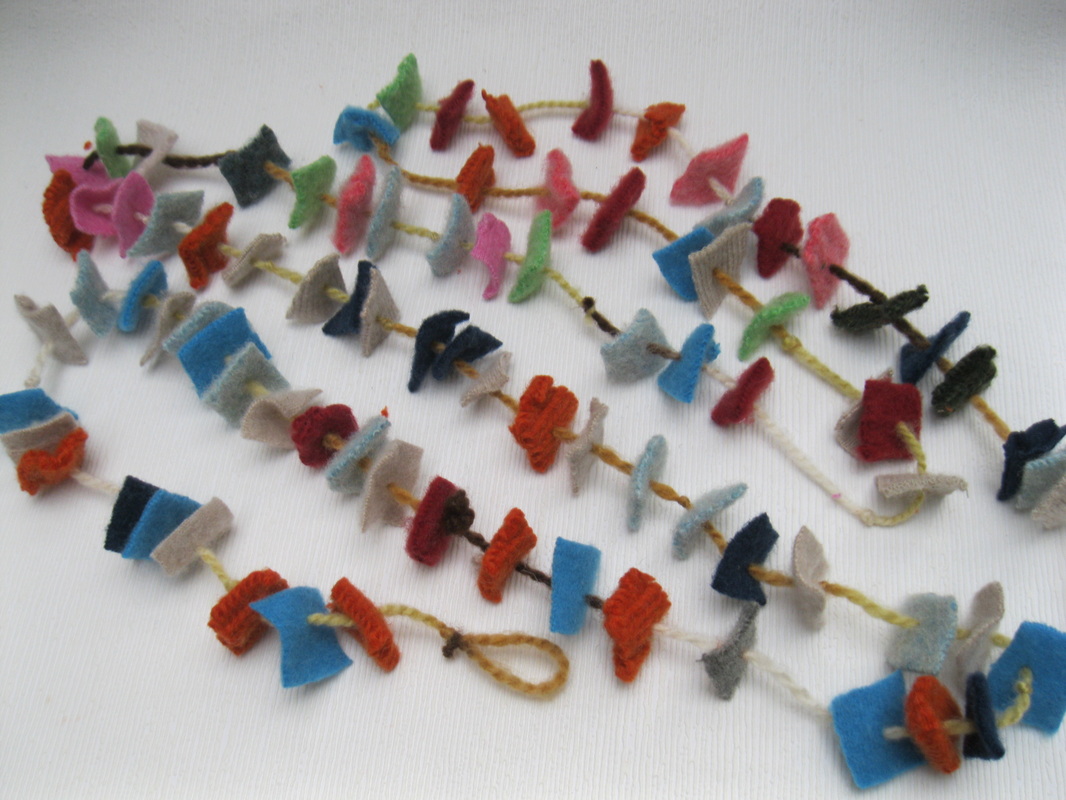
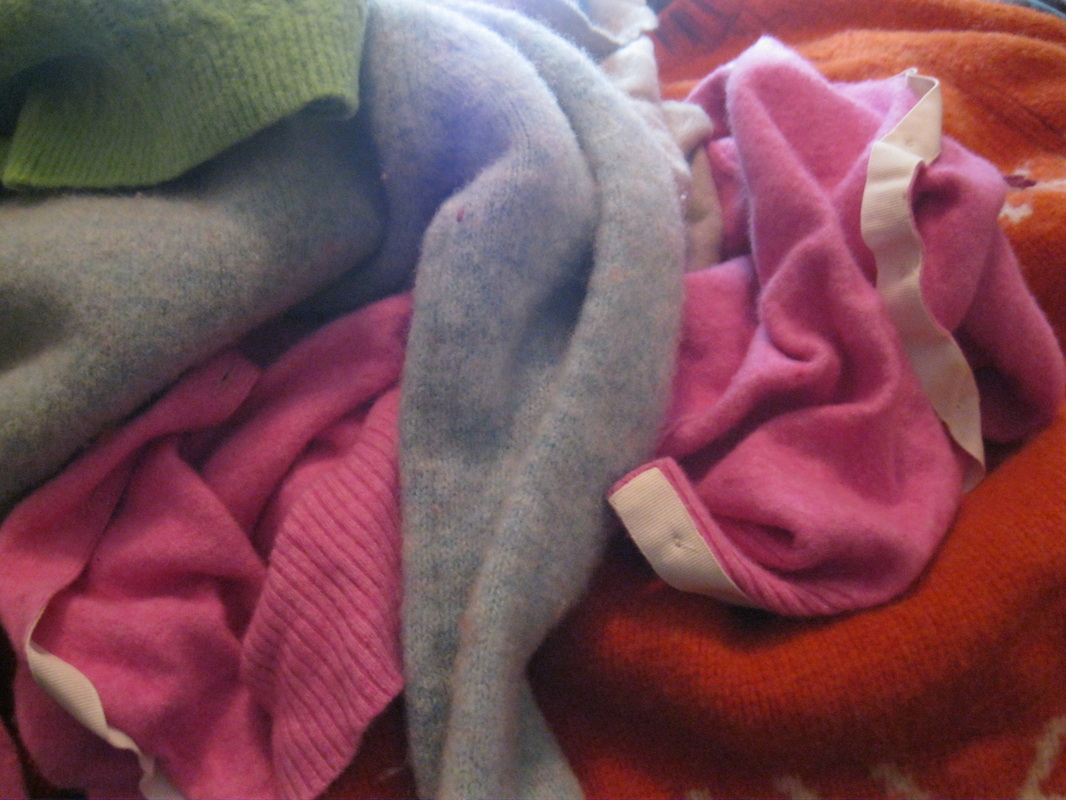
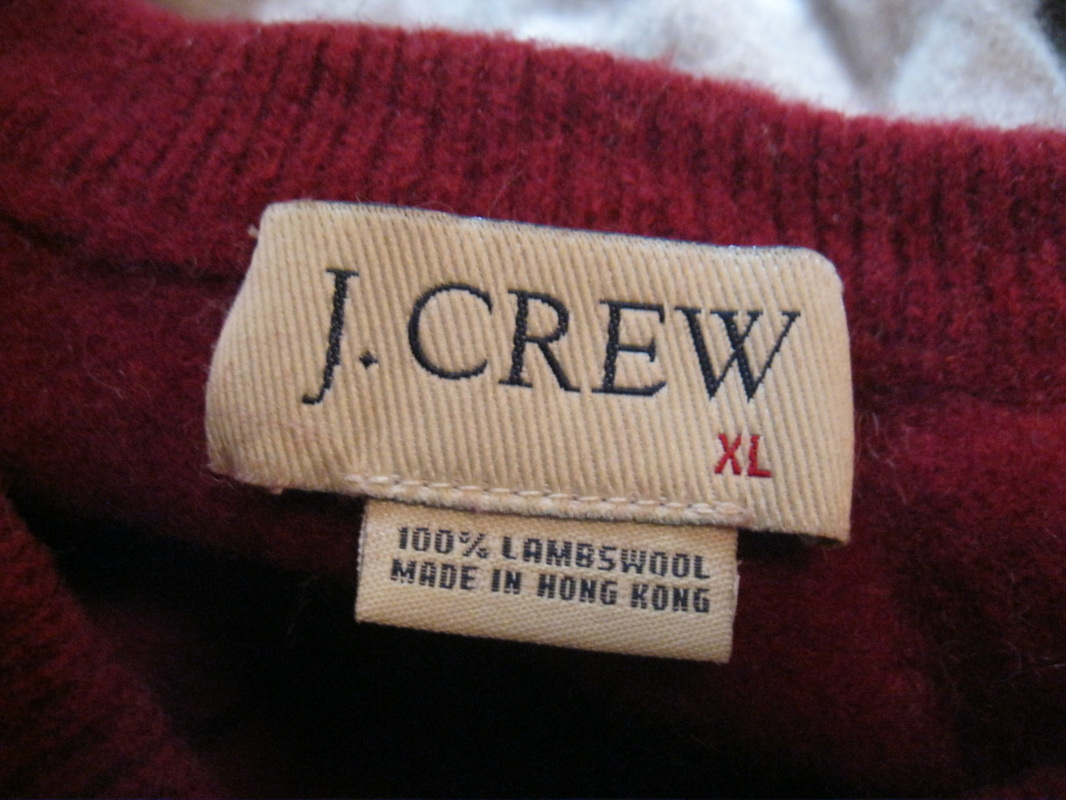
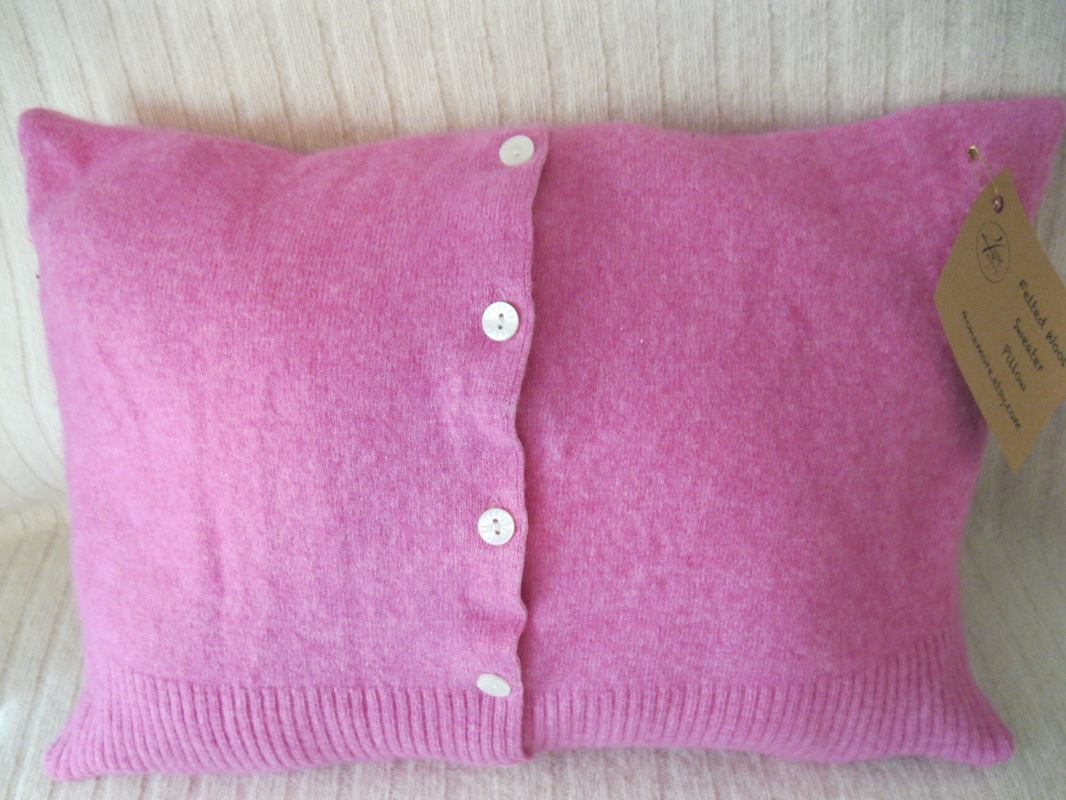
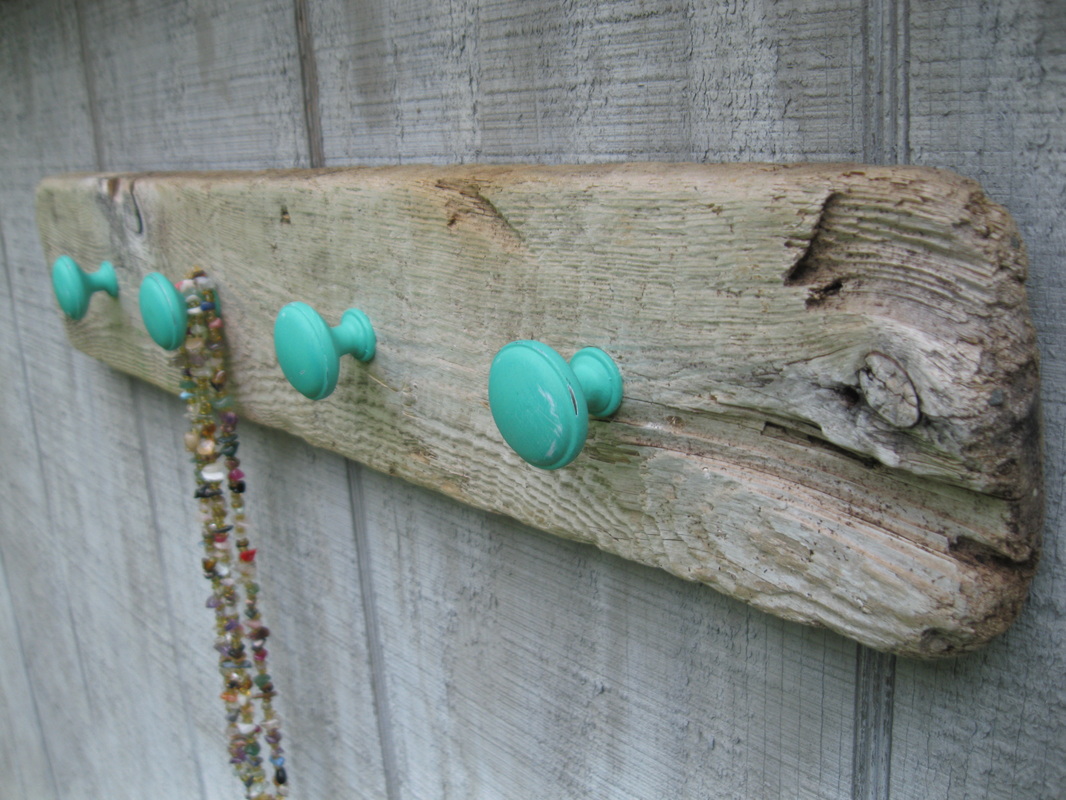
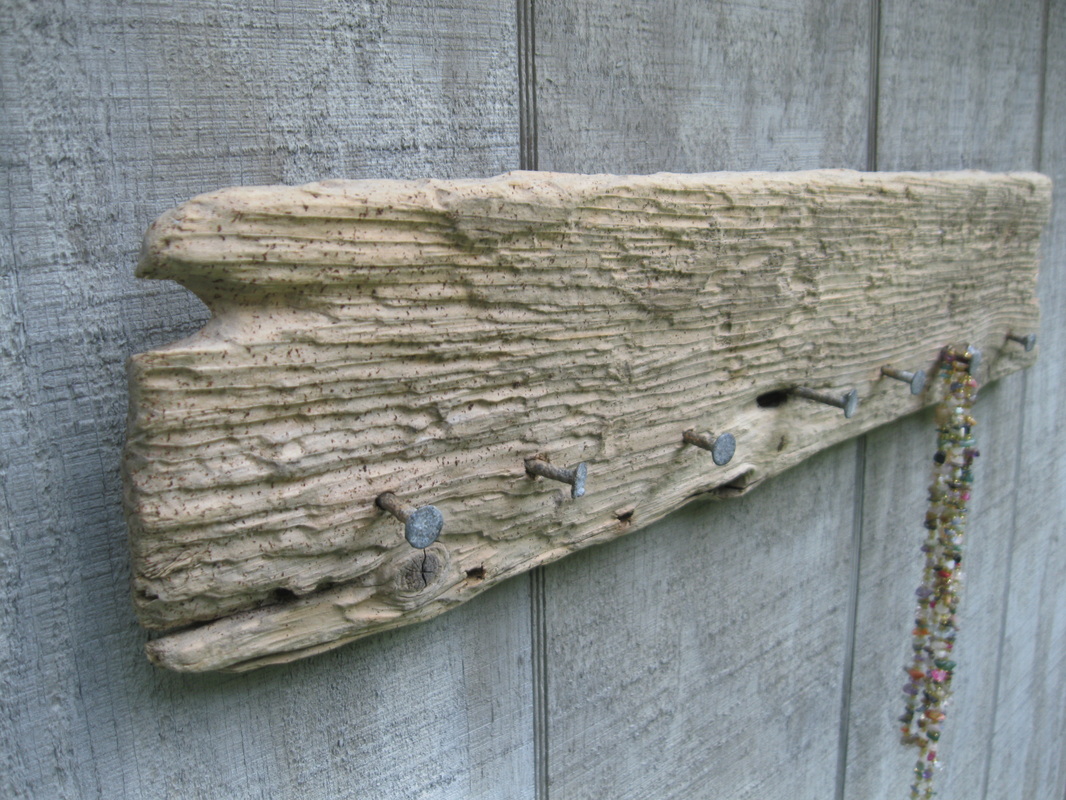
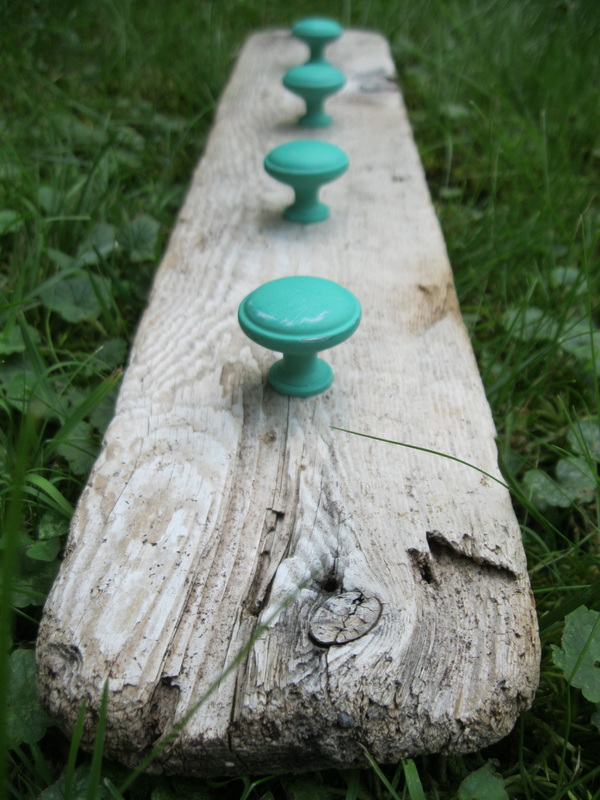
Check out my summer DIY over at STC. Cheap supplies, easy steps -- anyone can make these! But if you'd rather not get your hands dirty, pop on over to my etsy shop and buy them. Every dollar goes to purchase our plane tickets to bring little miss home... hopefully this year!
0 Comments
Several months ago I was thrilled to find a big bag of vintage yo-yo's at a thrift store! I didn't really know what I would do with them, but I scooped them up anyway. Their vintage character can never be fully reproduced. Lovely. I could have made a pillow top or small blanket. Maybe that will come, but it sounded like too much work at the moment. For easy vintage charm that just required a few simple steps, I made Yo-Yo Wreaths! And you can too! Even if you don't find vintage yo-yo's at your thrift store, they're easy to make. Keep reading... But before I show you how I made these simple wreaths, take a look at the finished product to get your inspiration flowing. Super simple steps: Make your yo-yo's Prepare your wreath base Glue yo-yo's to wreath base Add buttons (optional) Hang & enjoy! No vintage yo-yo's? No problem. Follow this great tutorial to make your own. Best of all, you can up cycle fabric and clothing just like our great-grandma's would have to make these original yo-yo's. No sense in spending money on this project if you don't have to! No sewing machine required, either. Yo-yo's are hand-stitched, and easy enough for your kids to try this summer while fighting boredom :) I also like to take projects like this to work on during long car trips. Wreath bases can be whatever you want. For one, I used a regular grapevine wreath. For another, I used a cheap frame from the thrift store that I painted first. This gray wreath was simply spray painted. Then, I wrapped some fabric and lace scraps on one section to add interest and to give the yo-yo's a flatter base to be glued onto. Finally, I raided my button stash and added some right in the center of the yo-yo. They look a little more like flowers now. Will you be trying your hand at making some yo-yo's? Featured here:
Yard sale season is upon us again. Perfect time to start looking for some wooden puzzles to up cycle. This stunning DIY Map Art cost less than $10 to make. Check out my full tutorial here.
Mother’s Day is in just one week! If you’re like me, you struggle with what to buy the mom in your life that adequately communicates how special she is to you. And what do you buy for her without cluttering up her house with more trinkets? Several years ago, I stumbled on an idea that I found in a magazine. This was before Pinterest, and before Ann mentioned a similar idea on her blog. My sister and I got to work. My husband and his siblings made one for my mother-in-law as well. It is so easy, but so full of love! If you don’t have much time, this is still very doable. Best of all, I can’t tell you how many times my mom has mentioned that this is one of her most favorite gifts. What could be this great? A memory jar! The concept is simple. Write down on slips of paper any wonderful memories from childhood, family traditions, funny stories, things you love about your mom. One memory per slip. Have all your siblings do the same. Then, gather them into a pretty jar and present it to mom on Mother’s Day. The idea is that every day, mom will pull a slip out of the jar and read a memory. We tried to put enough in for one year of memories without repeating! How wonderful it is to honor our Mom in this way. I hope that in 15 years, when my children are out of the nest, that they will make a memory jar for me!
I have been inspired lately by some of the beautiful word art that is sold online. The goal of today's post is to show you how to re-create some of the look for less than the price of a going out for coffee. You may have some of the supplies on hand, but if not, most can easily be found. The first step is to find a framed canvas to up cycle. I found these two resin frames at my local thrift store for a few dollars. You could nab something cheaper at a yard sale. Mine just happened to be small, but you can find any size if you hunt a little. They were ugly gold framed cardboard painting reproductions. The next step is to find your chipboard or wooden letters. My chipboard letters were from a dollar store. I arranged them right on top of the cardboard insert, then glued them on with E6000 glue. Final step is to paint & distress. I chose to use spray paint since my frames had lots of little crevices and I wanted to ensure an even application. But you could certainly buy a little bottle of acrylic paint for about 50 cents if you wanted to go that route. This project would look great in any color to match your decor. The white was perfect to allow the gold in the frames to peek out for some shabby chic character. Once your frames are completely dried (I waited 24 hours), then go ahead and distress the edges with a bit of sandpaper if you like that look. And that's it! So easy. Total I spent on this project was $2.98 for the frames. I already had the glue, paint, and chipboard letters on hand. May the God of hope fill you with all joy and peace in believing, so that by the power of the Holy Spirit you may abound in hope. It's no secret. I love thrift stores. And I love to see if I can make a discarded item beautiful and useful again. So, this post will bring you some of the ways I have up cycled thrifted frames. Consider it eye candy, and a little bit of crafting inspiration to get you going! Dry Erase BoardsDry erase boards are so practical, but the white ones can be just plain boring! Did you know that any frame with glass can be a dry erase board? Just write on it with a dry erase marker like a "regular" white board. So, head to your local thrift store to find a nice big frame. Put burlap, or fabric, or scrapbook paper behind the glass for up cycled beauty. The white frame was an old 80's frame that just needed a new coat of white paint. I stuck scrapbook paper in, and done! So easy. The yellow frame features some pretty fabric. I made a button and fabric flower to add more interest, and stuck it right on the glass with E-6000 glue. The red frame is so fun. Behind the glass is old-school manuscript paper with the handwriting lines. Chickenwire FramesWhat can you make with a beautiful frame that has no glass? A chicken wire frame, of course! Thrift stores have loads of lonely frames, usually for a cheap price, because they're missing their glass and backing. Simply staple chicken wire onto the back of your painted frame. Use it as a memo board, jewelry organizer, picture holder, and more. Great gift idea. But what if you really don't want to buy a full roll of chicken wire? Here's a simple solution that still has a shabby-chic feel to it.... This was an old frame without its glass. I painted it a favorite shade of green. Then, I took some vintage wire that I had laying around the house, and twisted it around the sides to make a sort of clothesline across the frame. Using mini clothespins, I can put up some of my cherished photos. Gallery Wall IdeasThrift stores have dozens and dozens of frames that just seem so random. But many times, all that is needed is a unifying coat of paint. These five frames were all different finishes and styles, but when I painted them this lovely gray, they started to play nice. Open gallery frames make a nice statement for cheap. Just paint frames in coordinating colors to your room decor, and hang as a group without the glass. You can tack pictures inside the open frames if you like. This middle frame was just right for displaying some favorite fabric in a color that I just can't get enough of. How about this white beauty? Well, when I first found her at a thrift store, she was an ugly duckling. But after some pretty white and distressing for her original finish to show through, the intricate design on the frame can really be appreciated. chalkboardsChalkboards are so fun. I actually have several throughout my house. Maybe it's because in my past life, I was a teacher. But they're practical, too. Here is my kitchen menu board which only cost me a few dollars. It was originally a mirror. Chalkboards are easy to make on any smooth surface. On mirrors or glass, I usually prime the surface first. Then, use spray chalkboard paint or acrylic chalkboard paint. Give at least 2 coats in opposite directions, drying between each coat. After 24 hours, prime the surface by rubbing the side of a piece of chalk over the entire board. This pretty turquoise chalkboard was a vintage frame I had on hand. It was missing its glass, so I painted a piece of cardboard instead. It works great, and it's not as heavy to hang, since it has no glass insert. Little chalkboards in the 5 x 7 or 6 x 8 size make cute wedding table numbers. Or use them on a buffet table to let everyone know what's on the menu. Burlap Word ArtI love seeing certain words that mean a lot to me around my house. It's a pick-me-up throughout the day. So, when I learned that I could print words directly on burlap through my printer, I was hooked. Burlap word art makes a great gift that you can customize. All in a thrifted frame that you can coordinate with the look you want. Lego MiniFig StorageThrifted frames are cheap, so my boys could pick big frames to display their mini figures, and it didn't break the bank. Check this post to see how we did it. Blank CanvasPretty frame, but ugly insert? Not a problem. (Almost) any frame can be up cycled. Hope and Joy weren't always so serene. They were a fun project, though. They deserve their own post. But for 69 cents a piece, how could I resist? This cute little square frame was okay, but needed a facelift. Enter some driftwood pieces, and it makes great beachy decor. WreathsWho said wreaths have to be round? Empty frames can bring some fun to your front door. Just paint them your favorite color and add fabric flowers, burlap buntings, scrabble letters, whatever quirky finds you like! Totally customizable. For more ideas on up cycling, follow me on Pinterest! How have you used thrifted frames in your home?
{This post continues to be popular on Pinterest. I now blog over at 4onemore.com and would love to have you visit there!} If you have boys, you probably have Lego. And Lego comes into the house by the hundreds, it seems, so good storage is a must. We have 4 boys under 10, so you can imagine the amount of Lego we have accumulated through the years. I spent some time looking for great storage solutions, and came across this idea quite a bit: Framed Minifigure Storage & Display. Here's a Pinterest experiment that was a success, not a fail! Honestly, the mini figures are so fun to look at, why not display them prominently in your boys' room, instead of hiding them away? I'm still looking for great ideas for the thousand other bricks we own, but the mini figure problem is solved for now. I found the best source for this idea here. I modified it a bit by using thrifted frames and keeping the glass in them. Ours aren't perfect, but my boys think they are! Check your local thrift store for some great frame options in large sizes! It will only set you back a few dollars. We bought the bricks (2 x 2) at a Lego store. For 100 bricks in the 2x2 size (that gave each boy 25 bricks for his display), we spent about $10. So, project total cost with thrifted frames was no more than $20 for all 4 displays. Each boy picked the paint color for his frame. We just inserted scrapbook paper, card stock, or nothing (!) into the frame for the background. Then, I spaced out the 2 x 2 blocks and glued them on the glass with E6000 glue, which is pretty much amazing stuff. Where previously we had some vintage world maps framed on the wall (because I LOVE that kind of stuff!), my boys were ready for something that looked like their tastes. And now it's fun to put the minifigs away at night :) Have you found any great ideas for Lego storage?
pillowsIf you missed the last post with some wool sweater ideas, check it out here. Pillows are an easy thing to start with. blankets & quiltsAnother great idea for using large chunks of sweaters are lap blankets or quilts. You can make any kind of patchwork pattern out of sweater pieces, then sew to a coordinating flannelette with right sides together. Leave a small section unsewn for turning it right side out. Finish with a stitch 1/4 inch from the edge of the blanket. Lap blankets for car seats are a great baby gift for the wintertime. But what about those pesky arms of sweaters or those little pieces that are left over? Shouldn't I just throw them away? Absolutely not! There's still much to make from scraps. Unless you're planning on making coffee cozies or candle cozies out of the sweater arms, you can feel free to cut them apart at the seam, giving you yet another nice size of felted wool to create with. When cut open, the arms make great pot holders. pot holdersOne item that was popular at my craft show the other weekend were wool sweater pot holders. Wool is naturally heat-resistant, and with your wool having gone through the felting process, the fibers are nice and tight. No yucky chemicals like in the store-bought pot holders. Wool is also stain-resistant. And these are pretty enough to use on the table as a trivet. Just cut your wool whatever size you want (mine are about 7 inches square). Now, here's the beauty of felted wool. Since it will not fray when cut, you can sew these 2 layers of wool with right sides facing out, and it will look great! No need to hide your stitches. I added some extra stitching across the pot holder for more durability, but it's not essential. Oh, and before you sew it all the way shut, add a little strip of wool for hanging. garland & buntingSince it's almost time for that holiday decorating, why not make some fun bunting or garland? Or, if you'd rather not do-it-yourself, my etsy shop is always open :) For the bunting, I just made a template for the size triangles I wanted. Cut your stash of felted wool. Then, tuck the tops of the triangles into double sided bias tape and finish with a simple straight stitch. So easy, but this would be beautiful tucked into the Christmas tree, across windows, or as winter party decor. Get the kids involved with this last project. As long as it's about 1 inch, no scrap is too tiny to create with! Make colorful felted wool garland out of square scraps. Two of my boys (ages 7 & 9) spent some time working together to make this garland. Just thread some yarn into a thick, large-eyed needle, and sew through the middle of your square scraps. Knot your yarn every 3 squares or so, to keep the garland from bunching up when it's hung. Would look so festive on the tree or draped in a window for the winter. I will have a few final ideas coming soon to use up your felted wool stash. In the meantime, check out my pinterest board for additional inspiration.
Have you ever created with felted wool? What was your favorite project? Are you planning on trying one of these ideas -- which one? One of my favorite crafting materials to work with is up-cycled felted wool sweaters. They're like a colorful blank canvas, just waiting for some re-creation work. Not to mention, they are fuzzy and soft. Start out with a treasure hunt at your local thrift store. Our local Salvation Army has 1/2 price clothing days once a week, so that is my best time to shop. Buy the biggest 100% wool sweaters you can find. The men's section is usually not as crowded as the ladies, so head there first. They don't have to be in perfect shape, or even name-brand, because you're going to cut these babies up eventually. The key here is 100% wool for the felting process to work. Throw your sweaters into the washing machine on a hot cycle with detergent and as much agitation in the cycle as possible. These are your components to a successful felting process. Once washed, throw them into the dryer, again with the hottest temperature possible. Check and empty your lint several times. I don't like to throw anything away, so I'm sure there is a DIY craft for clean wool lint. (Fire starters, probably?) Once your sweaters have been felted, they will be noticeably smaller. This is because the fibers have become denser and tighter. They will not fray when cut, making felted wool a nice material to work with. Now for some DIY project ideas just in time for the holidays. The easiest project is a felted sweater pillow. All you need are basic sewing skills for this. Turn your sweater inside out and pin your layers together. Decide on the size and shape of your finished design. I usually lay my sweaters on a cutting board to use the lines to help me cut straight. Then, straight stitch all around, leaving a small opening for stuffing. Fill with polyester fiberfill and hand stitch shut. For added interest, consider making some beautiful felted wool flowers. They are easy to make following this tutorial. Beautiful leaves can be made by cutting a leaf shape around a sweater seam, using the seam as your leaf veins. If you are adding flowers or buttons to your pillow, it is easier to sew them on before the pillow is sewn together. Just a hint. Not that I did or did not forget that hint while sewing my pillows. :) I love how interesting buttons can look on a pillow. I just cut 2 circles of felted wool and sewed vintage wood buttons on the top of the pile. Now they kind of resemble little flowers on the pillow. Another pillow idea is to find a nice button up sweater. This one is turned inside out, sewn all around, then undo the buttons to slip in a pillow form. So easy! All the hard work is already done for you. And here it is finished and all buttoned up. Now that the largest part of the sweater has transformed into a pillow, what do you do with the arms and other smaller pieces? Whatever you do, DO NOT throw anything away. Check back in my next post for several more projects to use up all that gorgeous wool.
Did you miss last year's felted wool DIY post? Check it out for more great ideas. Welcome to Pebble Beach, White Head Island, New Brunswick, Canada. Nestled in the cold North Atlantic waters of the Bay of Fundy, and boasting some of the highest tides in the world, this little beach is a fun place to do some treasure hunting. And treasure hunting we did! We had such a nice vacation last month visiting family here. I already told you about our adventures with dulsing and picking bakeapples. Today I want to give you a peek into the amazing North Atlantic beaches on White Head Island, and show you some one-of-a-kind items that are popping into my etsy shop from this beach! We spent lots of time on the two sandy beaches plus Pebble Beach. This is Pebble Beach, where my father-in-law does his dulse drying. There are lots of old nets half buried or washed up on the rocks. With the tide rising and falling 40 feet each 12 hours, an amazing amount of beach treasures are abundant and ready for pickers... like me! Nothing is too worn or battered. Everything has a story. Everything can be up cycled and made like new again. And its second life will be more beautiful than its original existence. The sea has smoothed rough edges. The bark has been stripped off of tree limbs, leaving behind a soft white mellow patina. Once-mighty wharfs and stately trees have been drifting in the cold North Atlantic. How long? Long enough to strip away tough parts and splinters. Long enough to expose a new beauty from the broken pieces. So from the Bay of Fundy beaches on White Head Island, right to your coastal-inspired decor, here are my newest pieces in my driftwood collection. Use this green knobbed beauty to hang your favorite jewelry or keys. If you like authentic and natural, this one is for you. I love to imagine what it was in its former life. Those nails are original. The driftwood has specks of something left on it... maybe specks of bark or specks of seaweed dried on? Whatever it is, you could never recreate this patina. It's unashamedly natural. Humble, even. Never to be replicated. If you love it, grab it. I'm sure there will be more to come from my stash of driftwood, nets, sea glass, and periwinkle shells. Stay tuned. It's such fun to create treasures from seemingly worthless things. And it reminds me of what the Master Creator has done in my life. Taken the old, the worthless, the broken, and made me a new creation.
|